HOW TO CHANGE FLAT TIRES

THE MOBILE AUTO VEHICLE MAINTENANCE CHECKLIST
04/19/2021
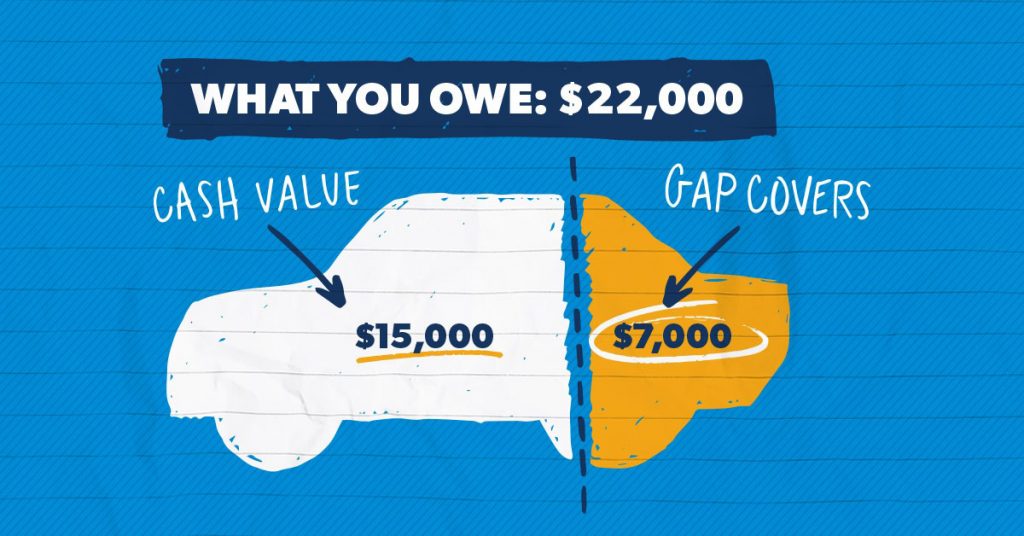
Trading In vs. Selling Private Sale
04/19/2021
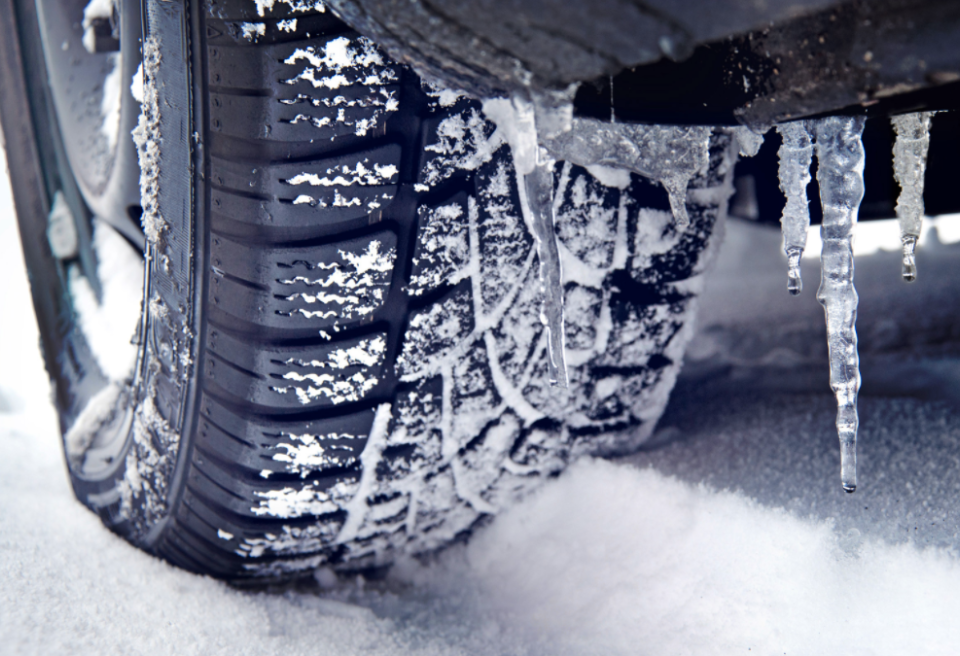
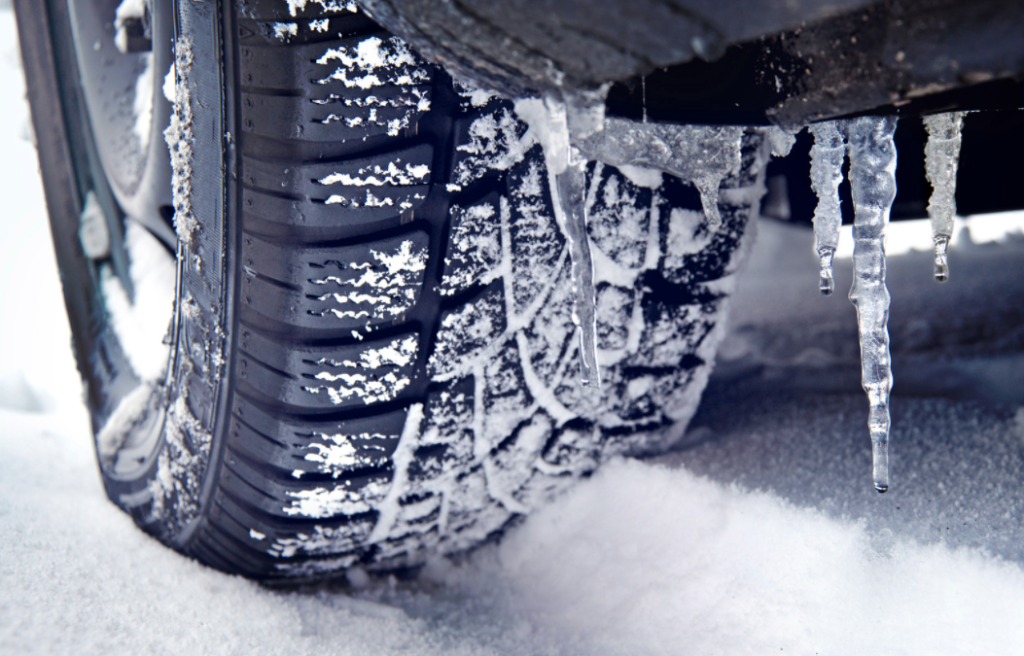
Knowing how to change a tire is a necessary skill for all drivers. If you rely on a cell phone to save you in a roadside emergency, there’s always that chance you will forget to charge it, be out of range, or leave it at home. Flat tires can happen anywhere, and a cell phone is no substitute for knowing how to change a flat tire.
Thankfully, changing a tire is not all that hard! Just adhere to the following guidelines to be prepared in case you have a flat.
- FIND A SAFE LOCATION
As soon as you realize you have a flat tire, do not abruptly brake, or turn. Slowly reduce speed and scan your surroundings for a level, straight stretch of road with a wide shoulder. An empty parking lot would be an ideal place. Level ground is good because it will prevent your vehicle from rolling. Also, straight stretches of road are better than curves because oncoming traffic is more likely to see you.Never attempt to change your tire on a narrow shoulder near oncoming traffic. Keep moving (slowly) until you find a safer spot. While driving on a flat risk ruining your rim, replacing a rim is better than being hit by an inattentive driver.Make sure to consult your owner’s manual and review their specific steps on how to change a flat tire for your vehicle.
- TURN ON YOUR HAZARD LIGHTS
Your hazard lights or “flashers” will help other drivers see you on the side of the road. To avoid an accident, turn them on as soon as you realize you need to pull over.
- APPLY THE PARKING BRAKE
Once stopped, always use the parking brake when preparing to replace a flat tire. This will minimize the possibility of your vehicle rolling.
- APPLY WHEEL WEDGES
Wheel wedges go in front of or behind the tires to further ensure the vehicle doesn’t roll while you fix the flat tire. If you’re changing a rear tire, place these in front of the front tires. If your flat tire is at the front, put the wheel wedges behind the rear tires. Bricks or large stones will work just as well as “real” wheel wedges. Just be sure they’re large enough to stop the car from rolling.
- REMOVE THE HUBCAP OR WHEEL COVER
If your vehicle has a hubcap covering the lug nuts, it’s easier to remove the hubcap before lifting the vehicle with the jack. If your lug nuts are exposed, you can skip ahead to Step 6.Use the flat end of your lug wrench to remove the hubcap. This will work for most vehicles, but some hubcaps need a different tool to come off. Consult your owner’s manual for proper hubcap or wheel cover removal procedures.
- LOOSEN THE LUG NUTS
Using the lug wrench, turn the lug nuts counter-clockwise until you break their resistance. You may have to use force, and that is ok. Use your foot or all your body weight if necessary.Loosen the lug nuts about one quarter to one half of a turn, but do not remove them completely yet. Save that for when it is time to remove your tire/wheel from the vehicle.
- PLACE THE JACK UNDER THE VEHICLE
The right place for the jack is usually beneath the vehicle frame alongside the tire that is flat. Many vehicle frames have molded plastic on the bottom with a cleared area of exposed metal specifically for the jack. To safely lift and avoid damage to the vehicle, follow the instructions for jack placement in your vehicle owner’s manual.
- RAISE THE VEHICLE WITH THE JACK
To prevent the jack from settling under the weight of your vehicle and coming off balance, place a small cut of 2×6” wood beneath it before attempting to raise your vehicle. This tactic is especially helpful on asphalt.With the jack properly positioned, raise the vehicle until the flat tire is about six inches above the ground.Never put any part of your body under the vehicle during or after raising the vehicle with the jack.
- UNSCREW THE LUG NUTS
Now it is time to remove the lug nuts all the way. Since you have already loosened them, you should be able to unscrew them mostly by hand.
- REMOVE THE FLAT TIRE
Gripping the tire by the treads, pull it gently toward you until it is completely free from the hub behind it. Set it on its side so that it does not roll away.
- MOUNT THE SPARE TIRE ON THE LUG BOLTS
Now place the spare on the hub by lining up the rim with the lug bolts. Push gently until the lug bolts show through the rim.
- TIGHTEN THE LUG NUTS BY HAND
Put the lug nuts back on the lug bolts and tighten them all the way by hand. Once they are all on, check each once again, tightening as much as possible. You will tighten them with the wrench after lowering the vehicle to the ground.
- LOWER THE VEHICLE AND TIGHTEN THE LUG NUTS AGAIN
Use the jack to lower the vehicle so that the spare tire is resting on the ground, but the full weight of the vehicle is not fully on the tire. At this point, you should tighten the lug nuts with the wrench, turning clockwise, as much as you can. Push down on the lug wrench with the full weight of your body.
-
LOWER THE VEHICLE COMPLETELY
Bring the vehicle all the way to the ground and remove the jack. Give the lug nuts another pulls with the wrench to ensure they are as tight as possible.
- REPLACE THE HUBCAP
If the hubcap you took from the flat tire will fit your spare, put it in place the same way you removed it initially. If it does not fit, stow it away with the tire when you stow your equipment.
-
STOW ALL EQUIPMENT
You have before you a jack, a lug wrench, wheel wedges, your flat tire, and possibly a hubcap. Do not forget to put all of them in your vehicle before driving away.
- CHECK THE PRESSURE IN THE SPARE TIRE
You should check the tire pressure of the spare tire to make sure that it is safe to drive on. “T-Type” temporary spares, also called “mini-spares,” require 60 psi (420 kPa). If the tire needs pressure, drive (slowly) to a service station immediately.
- TAKE YOUR FLAT TIRE TO A TECHNICIAN
Temporary spare tires are not made to drive long distances or at high speeds, so drive cautiously until you are able to visit a tire technician. A professional should be able to determine whether your tire needs a repair or if it is time to replace it.

